Showing posts with label Plain cake pops. Show all posts

Friday, May 25, 2012

Apples, Horses and Swirls

Here are some apples and horses that I did for an order (following the Farmers Markets).  It was my first time doing horses and I totally copied this idea from www.cakepopmyheart.com (thanks!!).

Horses & Apples

Horses with Cowboy Hats

Apples with Caterpillars

These pops were for another order.  I am really liking the basic swirl at the moment.  These were chocolate cake underneath and you can still *just* see the cake under the coating but I didn't want the coating to be too thick and overpower the yummy cake inside :)

Sunday, August 21, 2011

Simple Drizzle and Sanding Sugar

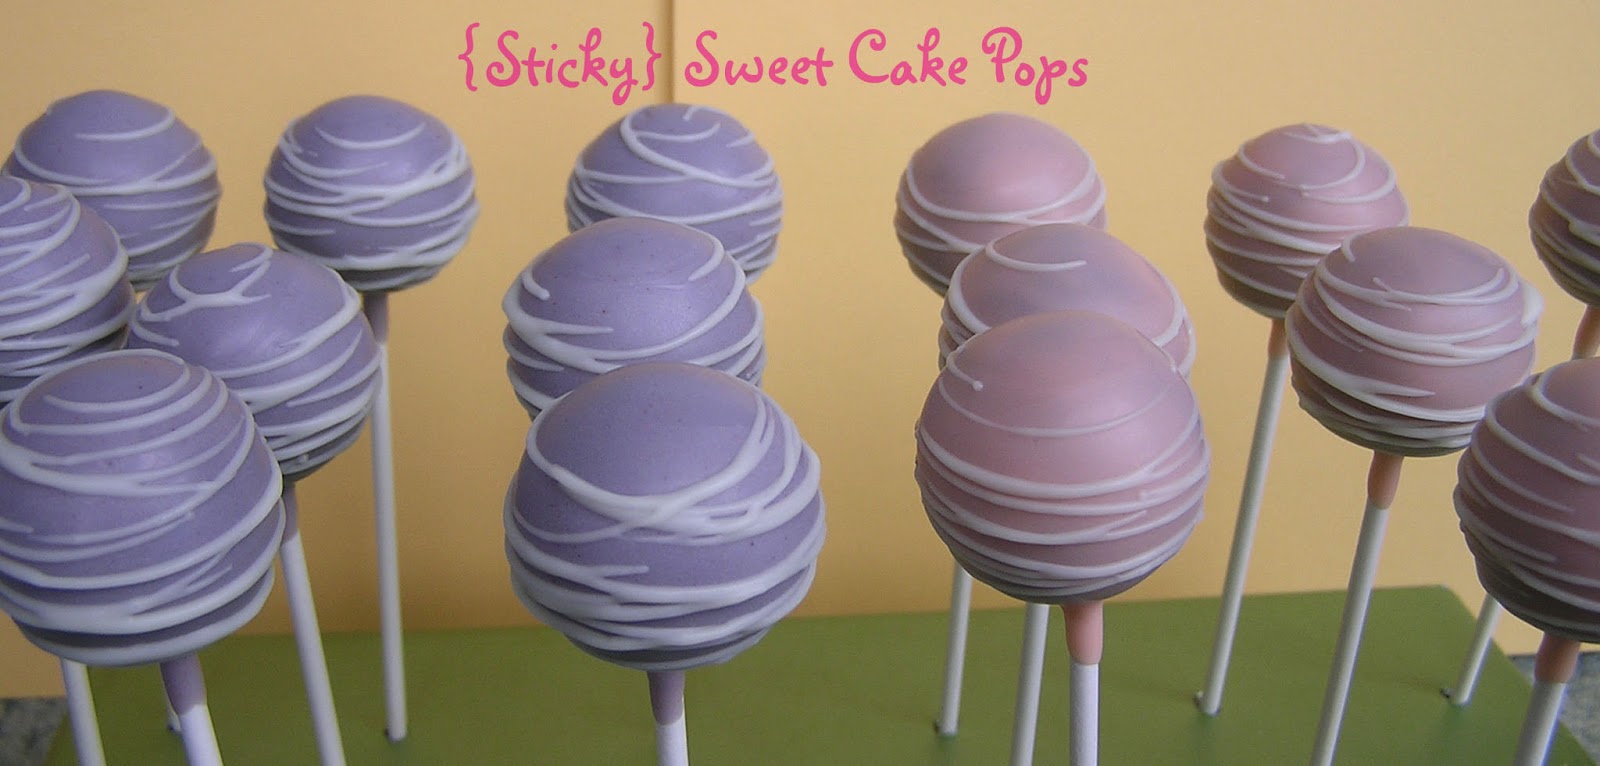
I believe my chocolate piping skills are finally improving.  I am managing to get more chocolate onto the cake pop rather than onto myself, which has to be a good thing!  I really like the look of the simple drizzle done in a coordinating colour and I can see these becoming a favourite of mine.

These were also my first attempt at a Red Velvet cake flavour.  I'm not sure that I really get the whole Red Velvet fanfare.  To me it tastes a bit like a chocolate cake that isn't quite chocolatey enough.  They do look amazingly fantastic when you bite into them though, so perhaps that's what it is all about.

Simple Drizzle Cake Pops

Sanding Sugar Cake Pops

Friday, July 22, 2011

Trio Cake Pops

I've had another opportunity to do a bit more testing:
* The cake balls (ie: crumbled cake + icing) freeze well.  Let them come up to room temperature before attempting to dip them.

* The decorated cake pops travelled fine.  I put them into an airtight container and into an esky.  It turned out the weather was cold anyway so I possibly could have skipped the esky!

* The trio's are simple to do.  However, only doing a small amount of each colour is a bit painful.  Large batches would be easier.

* I'm still trying to figure out the right chocolate melting/piping temperature.  If the piping chocolate is too hot, it cracks the coated cake pop......but if it's not hot enough it sets inside the piping bag, making it useless!!


Sunday, June 12, 2011

Simple Pops

These were supposed to be simple.  These were NOT simple.  At the end of my decorating session I was definitely questioning my abilities.  Am I being too critical?  Too much of a perfectionist??  All I know is that piping chocolate is hard.  There has to be something I am missing.  Getting that darn chocolate into my baking paper piping bag and on to the pops was a task of epic proportions!

Looking at the photos today, however, I think they look alright.  I am not a big fan of sprinkles so I may not eat any of them, but they look.........ok.


I’m off to do a little more websurfing to see what I can find to help me along on this journey!  Oh, and I may need to sample just one cake pop to make sure they still taste ok today :oP


Friday, May 27, 2011

First Try at Cake Pops

I’ve made my first batch of cake pops and I’m very excited!  I won’t go into the step-by-step details because other people have already taken the time to do this and their instructions are fantastic (Check out http://www.bakerella.com/ and/or http://littlemissmomma.blogspot.com/2010/07/cake-pop-recipe.html).

My very first two ended up looking like this, hahahaha!!!


but after a couple of tweaks, they ended up looking more like this


Making the cake balls

So, I used the Betty Crocker Super Moist Chocolate Fudge Cake baked in a 20cm square tin at 160 degrees for about 35 minutes.  I added about half the can of Betty Crocker Creamy Deluxe Vanilla Frosting.  You can tell when there is enough frosting added as the mix will hold together quite nicely and you can roll some test balls to see if they’re smooth enough.

I used gloves while doing the cake mixing part to save putting my hands all through it; and hands really do work the best for mixing the icing into the cake crumbs.

I used a level tablespoon of mixture to form each ball and this made about 45 balls in total (minus one or two that the two-year old ate!).

You can make them up to the ball stage and then put them in the fridge in an air-tight container until you have the time and/or patience to decorate them.  Plus it will help to set the stick in place if they’re a bit cold too.

Although the packet cake and frosting gave great results, I still think they tend to have that “packety” taste, so I will definitely make the next batch from scratch.

Someone suggested cutting off the sides of the cake, so you’re using only the moist centre parts, I can see the theory behind this and will test it out next time.  I don’t think the top and bottom of the cake will be a drama, just the very outside edges.

Coating the cake balls

The brand of Candy Melts I used were CK Products (just because that’s what I bought at the time) and it took about 280g to do the single coating on my 45-ish pops.  You would possibly say about 300g of melts per batch and that way you’ll be safe.

The reason my first ones were so terrible is that the melts were too thick and I’d forgotten to buy the vegetable shortening to thin the mix down.  I used a small amount of Copha.  I guess, about a teaspoon or one and a half teaspoons added to the total amount of melts.

Also, if you happen to live in a cool climate, like Orange, it’s best to melt them over a pot of simmering water.  This keeps the mixture pliable for longer and it’s much easier to just turn the stove back on, rather than having to keep putting them back in the microwave.

Some instructions say to dip the whole ball into the melts to coat them.  I used a spoon to pour the melts over the ball while I was turning and tapping it at the same time. I could just see me ending up with entire cake pops off the sticks and in the melts otherwise!

I found the coating set quite quickly once on the pop.  I will have to test this out again when I make something a little more elaborate.


I have to say my biggest drama for my first batch was finding some styrofoam to put the pops in once decorated so they could set.  Who would have thought that a chunk of styrofoam would have been so hard to find??  I will have to order some off the net before my next attempt.  Although the timber block that my hubby drilled tiny holes in for me worked exceptionally well.

And here is the cake I made for my birthday.

It’s the Donna Hay Rainbow Layer Cake and I don’t think I did too bad with my layers (especially since the bottom cake was cooked in a slightly larger tin and I didn't level the tops!)